
A Review of ContentTools - a Rich Content Editor

I've written multiple articles for the Telerik Developer Network and sometimes Brian, the editor of this site, will offer up some ideas. Recently he floated a few ideas my way, one of which was a rich text editor (RTE) tool he'd found interesting. My immediate response was something along the lines of...

I've been in web dev business for over twenty years, and in that time I've gained a healthy fear for RTEs. They typically produce code that looks like a drunk monkey sat in front a keyboard using Microsoft Front Page.
Even when they produced good code, it wasn't long before the client tried to do something not supported by the RTE and asked you why it didn't work. In my years of experience working on CMS platforms with an RTE I've only found one that acted decently, and they were bought out by Macromedia years ago and the product was killed off.
As I said - I wasn't interested. Nope, wasn't going to even give this idea a chance. But...it had been years since I really looked at a RTE. And this product was both free and open source. In the end, I thought I'd give it a fair shake.
ContentTools is a rich content editor created by Anthony Blackshaw. As I said above, it is entirely free and available up on GitHub. Let's look at what makes ConentTools differnet and why it might be worth a look if you are in need of a RTE.
Setup
Unlike a traditional RTE that plops a toolbar of Microsoft Word-like controls over a text box, ContentTools is an "in context" editor. That means your user edits the live page itself and sees their edits in the context of the rest of the site.
Here is an example from their demo:
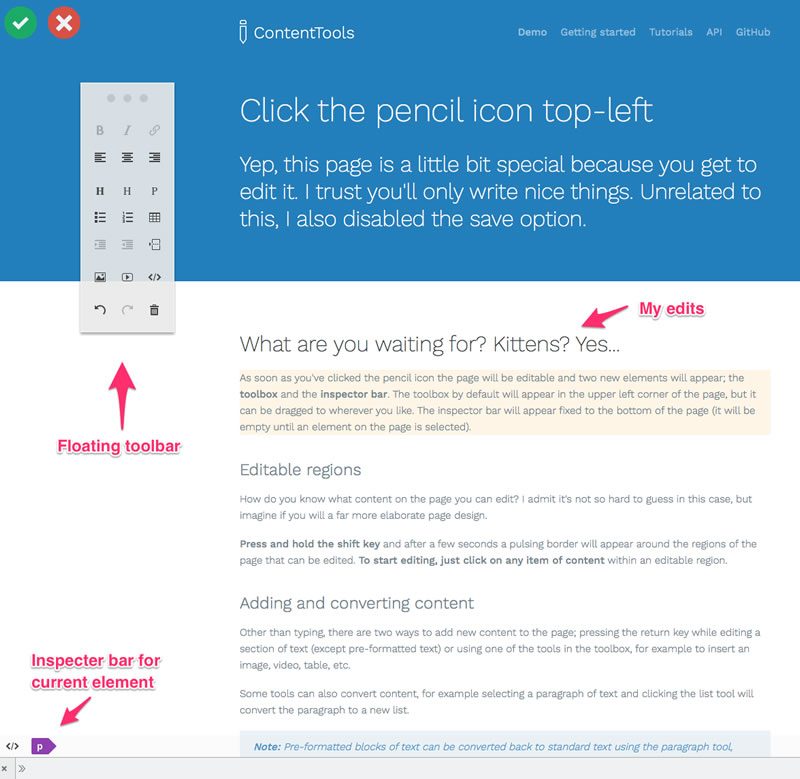
Obviously a screen shot doesn't really do it justice, but you can see where I've modified the text as well as how some of the controls work. So, sure, it's pretty, but how do you make use of it?
The getting started guide does a good job of explaining things. Essentially it boils down to downloading the assets for the tool, including the JavaScript library into your page, and then launching the editor. Obviously, this is something you would only enable for users who are authenticated and have permissions to edit the content on the page.
Creating the Markup
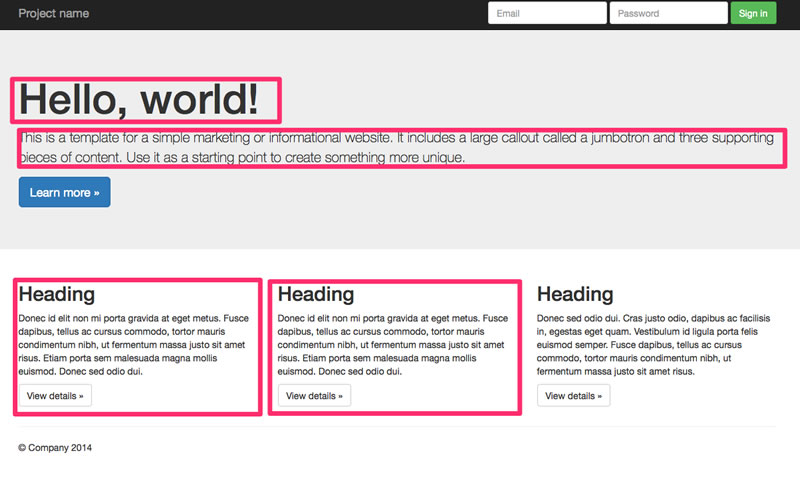
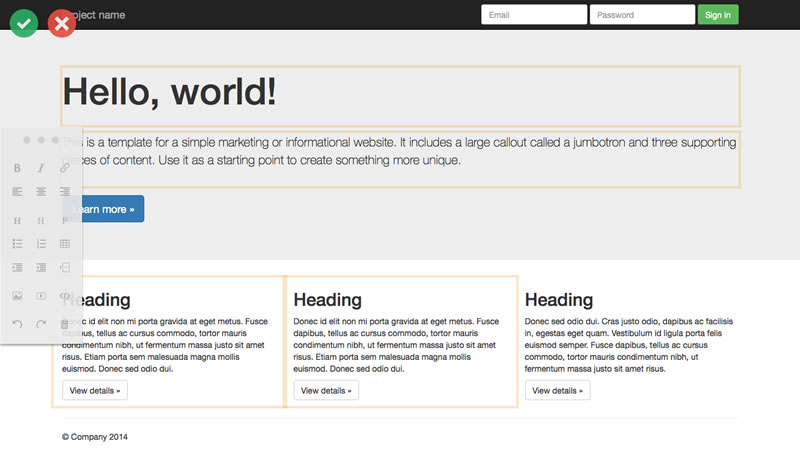
For testing purposes, I decided to start off with the Jumbotron Bootstrap demo since it offers some layout and initial text. As the getting started guide instructed, I added the CSS and JavaScript file for the tool to my page. Next, I needed to identify the parts that would be editable.
You can download the sample source as a zip file to test it locally.
In the screen shot above, the areas that I've boxed will be editable. The third box on the bottom is not editable purely just demonstrate how not everything needs to have the ability to be modified by the client.
To mark up these sections, I added two attributes to each block:
data-editabledata-name
The data-editable marks the area as editable. Meanwhile, data-name lets you provide a name for the content. The name becomes important when you are saving the changes a user makes.
A crucial thing to note here is that the data attributes must be placed on an item that wraps the content you want to edit. That's something I messed up myself while testing. For example, to make the header editable (as you see in the screen shot above) I wrapped the H1 block in a section tag and placed the attributes there. (Big thanks to Anthony for helping me with this point.)
Here is an example from the top portion of the file showing the editable header and main paragraph:
<article data-editable data-name="mainHeader"><h1>Hello, world!</h1></article>
<div data-editable data-name="mainPara">
<p data-editable data-name="mainPara">This is a template for a simple marketing or informational website. It includes a large callout called a jumbotron and three supporting pieces of content. Use it as a starting point to create something more unique.</p>
</div>
Adding the JavaScript
Next I made a new JavaScript file and included the code from the Getting Started guide:
window.addEventListener('load', function() {
    var editor;

    editor = ContentTools.EditorApp.get();
    editor.init('*[data-editable]', 'data-name');
});
Remember - this code is not something you would load by default. Instead, it would only be loaded for authenticated users who have permission to edit the content.
Right away you can see a difference on the page:
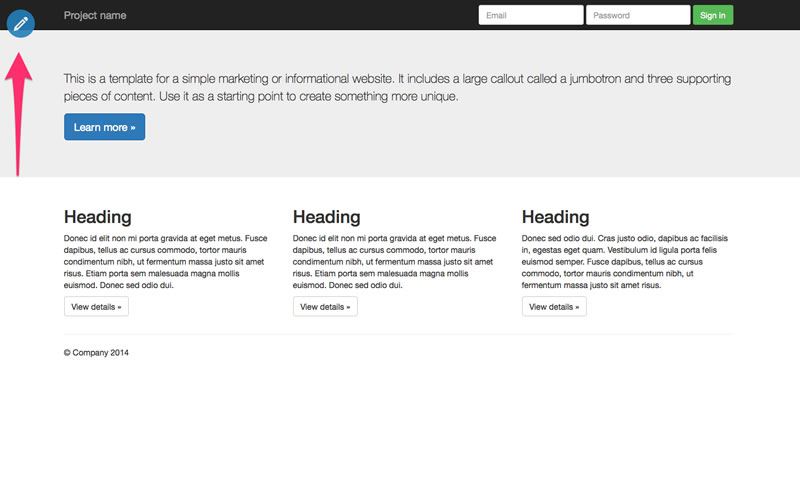
Clicking the pencil icon opens up the editor toolbar:
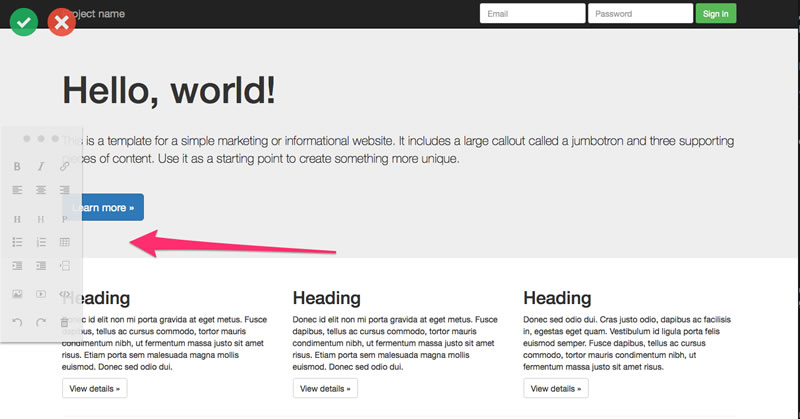
You'll notice that the toolbar is over some text, but you can grab and move it to a better position. Another cool feature is that you can hold the shift key to highlight editable regions:
What isn't visible from the screen shot is that those boxes are blinking, which makes them stand out even more.
Saving content changes will require back end code of course. The JavaScript portion though is rather simple. You can listen for a save event on the editor which will pass all the regions and the text each includes. The getting started guide has a full example you can literally just copy/paste - you'll still need to build the back end support to take in those changes and persist them of course.
Configure Styles
One more cool aspect of ContentTools is the ability to configure styles for your content. Assuming your site has specific styles for paragraphs, you can actually define them so that the editor is aware of them too.
For instance, Bootstrap has many predefined classes to make it easier to style text. If I tell the editor about them, I can use them while editing. Below I've told the editor about some of the text styles Bootstrap supports:
ContentTools.StylePalette.add([
new ContentTools.Style('Muted', 'text-muted', ['p']),
new ContentTools.Style('Primary', 'text-primary', ['p']),
new ContentTools.Style('Success', 'text-success', ['p'])
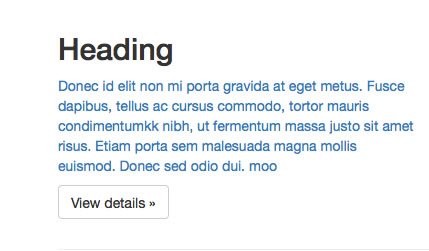
]);In each case, I pass a "nice name," the name of the CSS class, and the tags that it applies to. Now when a user selects a paragraph in the browser, and then select the P tag in the bottom toolbar, this pops up:
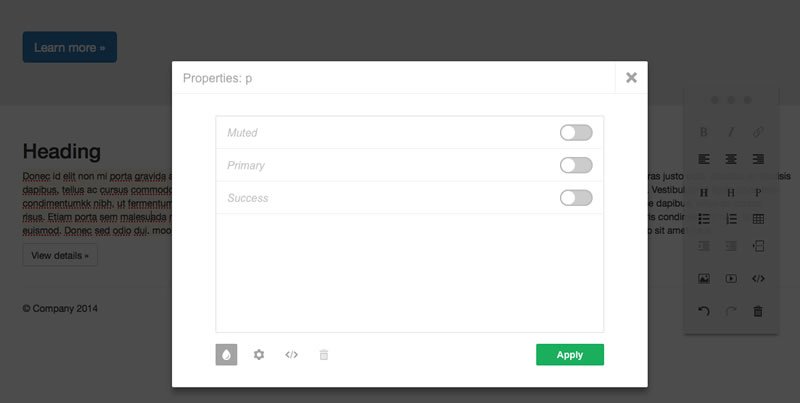
As you can see, the "nice names" I supplied are used, which is more friendly for the non-technical user. Simply click a style to apply it.
Conclusion
All in all, I'm pretty impressed with ContentTools. Obviously it will take time to integrate it into a CMS, but the front end work is straightforward and the general ease of use seem to be really well done. I also had great success working with Anthony, the tool's creator, as I played around. In the end, I may have to - cautiously - adjust my stance on rich text editors!

Raymond Camden
Raymond Camden is a senior developer advocate for Auth0 Extend. His work focuses on Extend, serverless, and the web in general. He's a published author and presents at conferences and user groups on a variety of topics. Raymond can be reached at his blog (www.raymondcamden.com), @raymondcamden on Twitter, or via email at raymondcamden@gmail.com.
Comments
All articles
Topics
Latest Stories
in Your Inbox
Subscribe to be the first to get our expert-written articles and tutorials for developers!
All fields are required